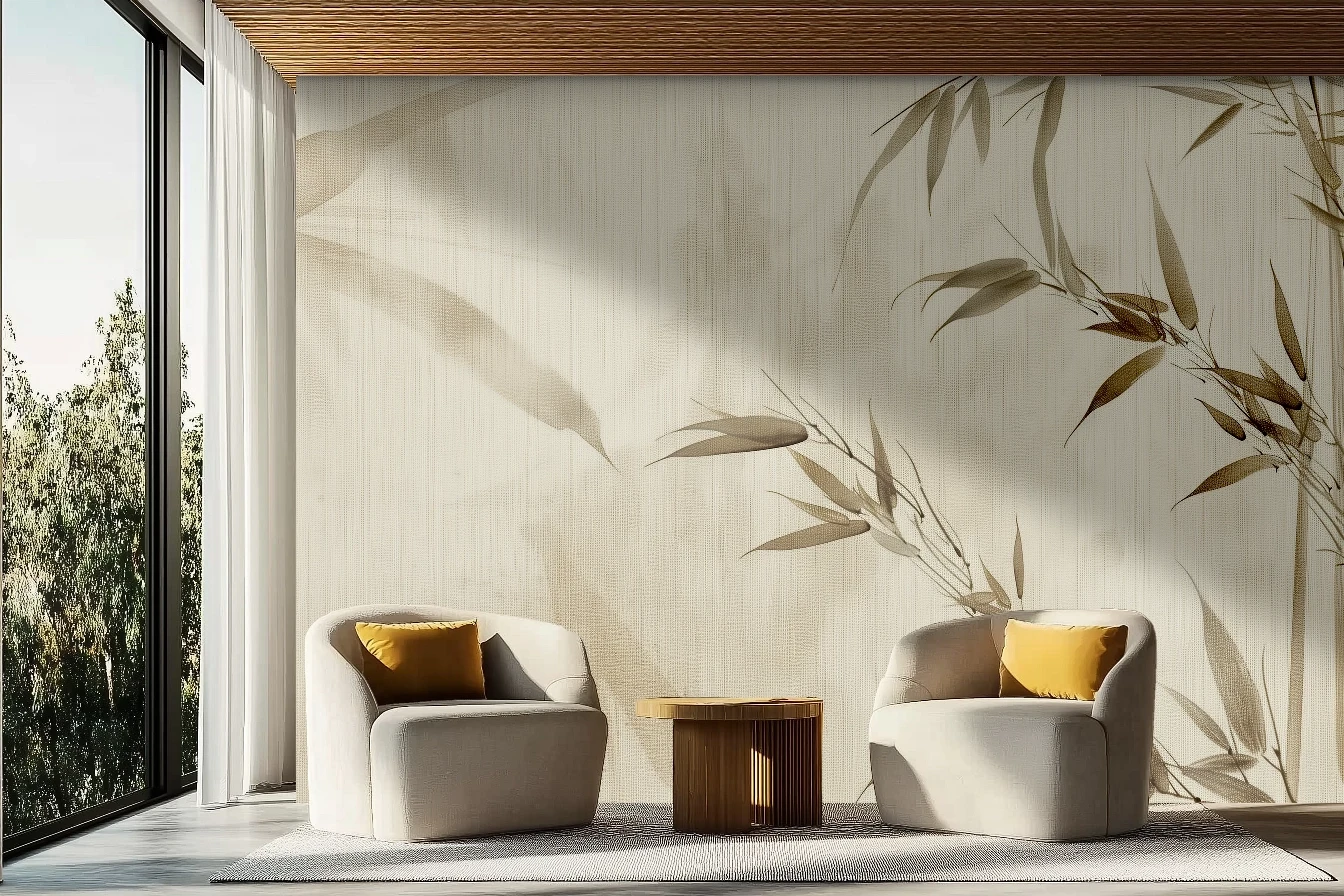
How to install a wall mural?

How to Mount a Wall Mural?
A wall mural is a great way to completely transform an interior. It can add character to a living room, create a unique atmosphere in a bedroom, or accentuate the boldness of an entryway. However, its installation requires precision and proper preparation. If you're wondering how to do it step by step, this guide will show you that it's a task you can do yourself.
Choosing the Right Wall and Preparing the Surface
Where to Mount the Mural
Not every wall is suitable for a mural. Before choosing a location, make sure the surface is clean, dry, smooth, and slightly porous. Wallpaper on walls, especially in a bedroom, looks great in large, unobstructed spaces. The wall behind the bed or sofa in the living room is the perfect background for a unique pattern.
How to Prepare the Wall?
Preparing the wall is essential for successful installation. Remove old wallpaper, flaking paint, or other imperfections. If there are stains on the wall, degrease it with a damp cloth. Finally, prime the surface with a suitable primer with fungicidal properties to improve the adhesive's grip. For light wallpapers, ensure a uniform wall color to avoid stains or writing showing through.
Preparing the Mural for Installation
Fitting and Planning
Before applying the adhesive, lay out the wallpapers on a flat surface at least 24 hours before installation. This will allow them to relax and avoid surprises during gluing. Thoroughly inspect each wallpaper roll for damage, pattern consistency, and color uniformity.
Marking the Installation Line
Use a level and pencil to draw vertical lines on the wall, marking the location for the first wallpaper strip. Use a light pencil to prevent the line from showing through the wallpaper.
Applying Glue – Evenness and Precision
Choosing the Glue
The type of glue depends on the mural material and the substrate. For non-woven or vinyl wallpapers, use a glue specifically designed for such surfaces.
How to Apply the Glue
Apply the glue evenly with a roller or brush directly on the wall. Avoid excess glue at the edges - apply thin layers with a brush to prevent it from seeping beyond the wallpaper's edges. Apply glue only to the area where the first strip will be placed.
Installing the Mural – Step by Step
Applying Mural Panels
Start sticking the mural from the top corner of the wall. Align the first wallpaper strip with the marked vertical line. Carefully match it to the markings, then smooth the surface from the center to the sides using a roller or wallpaper brush.
Removing Excess Glue
If the glue seeps beyond the wallpaper edges, immediately remove it with a damp sponge or a clean, dry cloth. Otherwise, it may leave stains that are difficult to remove once dry.
Installing Subsequent Strips
Overlap the edges of the next strips. Smooth the joints with a rubber roller, ensuring an aesthetic appearance. Trim any excess wallpaper at the floor and ceiling with a sharp wallpaper knife using a plastic spatula.
Final Touches and Securing the Mural
Finishing the Edges
After applying all panels, ensure the edges are evenly pressed. If you notice protruding fragments, apply a little glue and press with a roller.
Securing the Mural
In rooms prone to moisture or dirt, such as the kitchen or entryway, it's advisable to protect the mural with a protective varnish, ensuring resistance to stains and easy cleaning.
Reve wallpapers and murals are incredibly decorative solutions that can completely transform the look of any room. Mounting a mural requires a bit of precision, but the end result is worth it. Following these step-by-step instructions will ensure a professional and lasting effect. Now you know how to mount a wall mural - it's time to choose the perfect pattern and create a space that delights!